Looking for some tasty sausage or just want to know where things really are from? Let’s make Kielbasa sausage as they did of old!
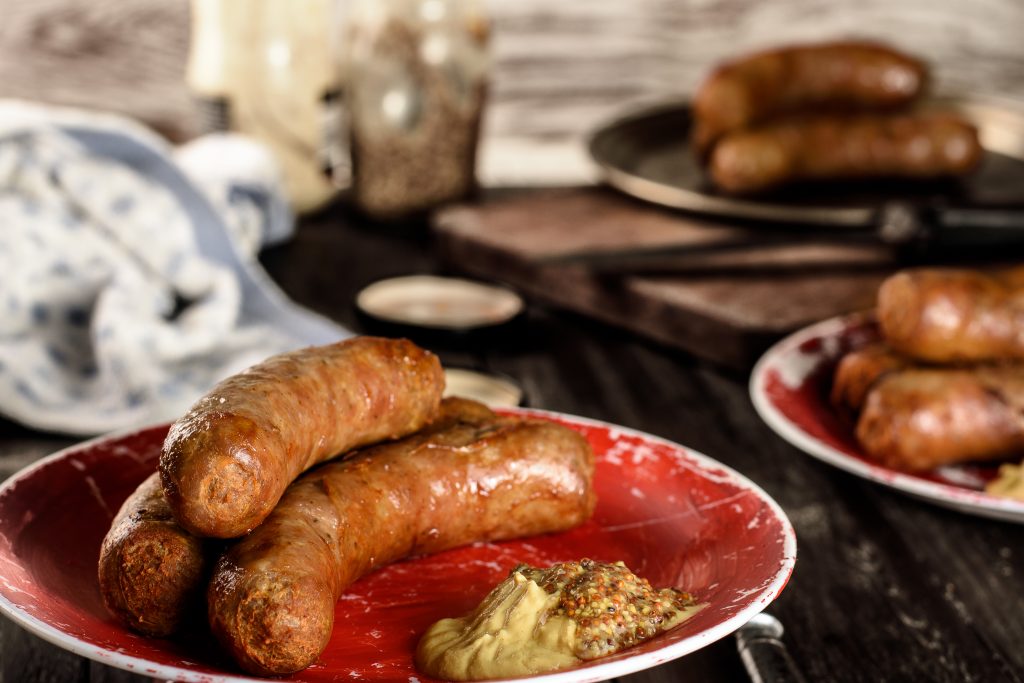
As I recently have a little time, I was looking on the internet the other day. Looking to find new, intriguing ideas, inspiring recipes that We have never tested before, to surprise my loved ones with. Searching for a long time yet could not find too many interesting stuff. Just before I thought to give up on it, I stumbled on this delightful and easy treat by chance. The dessert seemed so tempting
on its snapshot, it required urgent actions.
It had been easy to imagine just how it is created, how it tastes and just how much my husband will probably love it. Mind you, it is quite easy to please him when it comes to desserts. Anyways, I went to the blog: Suncakemom and used the step by step instuctions that have been accompanied by wonderful photos of the method. It just makes life less difficult. I can imagine that it is a slight effort to shoot photographs down the middle of cooking in the kitchen as you will often have sticky hands therefore i seriously appreciate the commitment she put in to make this blogpost .
Having said that I’m empowered to present my own, personal recipe in the same way. Many thanks the concept.
I was tweaking the initial recipe to make it for the taste of my family. I’ve got to say it had been a great outcome. They loved the taste, the structure and enjoyed getting a sweet like this in the middle of a stressful workweek. They basically requested more, a lot more. Hence the next time I am not going to make the same mistake. I’m going to double the amount .
Kielbasa Sausage Recipes invented by suncakemom.
Soak the casing into iced water and keep it there until finished. Replace the ice if necessary.
Grind the meat if necessary and measure the rest of the ingredients.
Mix everything together. Depending on what type of filling machine we have, prepare for its filling too. Stand mixers will require the meat to be rolled into easily swallowable logs.
Pull the casing onto the filler tube. Don’t forget to push about an inch / 2 cm filling out so the casing will slide on easier. Pull as much casing on as it is possible so we don’t have to keep replacing it.
Start pushing the filling out. Optionally make a knot at the end and punch a hole on the casing so the air can escape. Control the amount of meat gets into the casing by holding onto the casing around the tube or releasing it.
As the kielbasa comes off the tube, roll it up. If the casings break, just remove enough filling at the end, make a knot and carry on like at the beginning. If the casings dry out and it sticks on the tube, apply some water.
Make the links on the kielbasa sausage. Roast, fry, cook or freeze them as desired.